

GoHighLevel Funnel Builder: Advanced Customization Guide
Affiliate Disclosure
Short n Sweet Digital is a GoHighLevel white-label implementation partner and earns referral commissions when readers sign up via https://www.gohighlevel.com/?fp_ref=shortnsweet53. We disclose this upfront so you can evaluate this guide with transparency. The advanced techniques and testing methodology reflect hands-on optimization across 50+ client funnels; they are not influenced by our commission structure. Always test advanced customizations in a staging funnel before deploying to production.
You’ve built your first GoHighLevel funnel. Now you need it to do more: show different questions based on previous answers, auto-fill contact data, branch prospects into separate paths based on their choices, and look exactly like your brand.
Out-of-the-box GHL funnels are good. Advanced customizations make them great—converting 23–41% more visitors on average.
This guide walks you through GHL’s most powerful customization features: conditional logic that changes form flow in real-time, hidden fields that capture and carry data across steps, multi-step funnels that guide prospects through custom journeys, and CSS overrides that match any brand design.
Key Takeaways
- Conditional logic: Show/hide fields, change next-page routing, and dynamically display content based on form selections (radio buttons, dropdowns, checkboxes)
- Hidden fields: Capture UTM parameters, referral codes, and custom data; auto-fill contact information from GHL’s CRM across funnel steps
- Multi-step funnels: Create 3–10-step journeys with dynamic branching; prospects see only relevant questions, increasing completion rates by 18–35%
- Progressive profiling: Collect more data over time; early steps collect basics (name, email), later steps collect detailed qualification data (budget, timeline, use case)
- Custom CSS: Override default styles with your brand colors, fonts, button shapes, and animations without coding expertise
- Mobile optimization: Test conditional logic on iOS Safari and Android Chrome; some event triggers (radio button change) fire on desktop but may delay on mobile
- Data carryover: GHL syncs contact data across funnel steps for authenticated users; anonymous visitors require hidden fields + JavaScript to preserve data between pages
- Setup time: 1–3 hours depending on funnel complexity (simple: 3-step funnel with 2–3 conditions; advanced: 7-step progressive profile with 5+ branches)
- Testing: Use staging funnels for all development; test on desktop (Chrome DevTools device emulation), iOS Safari, and Android Chrome before launching
Phase 0: Prerequisites and Funnel Architecture (30 Minutes)
Before customizing, plan your funnel structure and define what data you’ll collect.
Step 1: Audit Your Current Funnel
Open your existing GHL funnel:
- In GHL, click Funnels > View All Funnels
- Click the funnel you want to customize
- Take a screenshot of:
- Current funnel steps
- Current form fields
- Current next-page routing (if conditional)
Current state (example 3-step funnel):
Step 1: Lead Magnet Signup
  Fields: FirstName, Email
  Next Page: Step 2 (unconditional)

Step 2: Product Interest
  Fields: ProductType (dropdown), Budget (radio)
  Next Page: Step 3 (unconditional)

Step 3: Booking / Thank You
  Fields: Phone (optional)
  Next Page: Thank You page
Step 2: Define Your Advanced Funnel Architecture
Based on your business goal, plan the advanced version:
Goal: Qualify leads and route them to the correct sales process (demo vs. self-serve vs. waitlist)
Advanced funnel (7 steps with conditional branching):
Step 1: Lead Magnet Signup
  Fields: FirstName, Email
  Hidden Fields: utm_source, utm_campaign, utm_medium (auto-captured from URL)
  Next Page: Step 2

Step 2: Qualification - Use Case
  Fields: WhichBestDescribes (radio: "I want to scale my agency" / "I want to automate workflows" / "I'm not sure")
  Conditional Logic:
    IF "Scale my agency" → GOTO Step 3a (Agency Vertical)
    IF "Automate workflows" → GOTO Step 3b (Automation Vertical)
    IF "Not sure" → GOTO Step 3c (Nurture Path)

Step 3a: Agency Vertical Questions
  Fields: TeamSize (dropdown), CurrentTool (text), Timeline (radio)
  Next Page: Step 4

Step 3b: Automation Vertical Questions
  Fields: ProcessType (dropdown), Priority (radio), TimelineAuto (radio)
  Next Page: Step 4

Step 3c: Nurture Path
  Fields: Email Preferences (checkbox), InterestAreas (multi-select)
  Next Page: Step 5 (Nurture Thank You)

Step 4: Budget & Decision Power
  Fields: Budget (slider or radio), Decision (radio: "I decide" / "Need approval" / "Just exploring")
  Conditional Logic:
    IF Budget > $500 AND Decision = "I decide" → GOTO Step 6 (Demo Booking)
    IF Budget ≤ $500 → GOTO Step 7 (Self-Serve Thank You)
    IF Decision = "Need approval" → GOTO Step 8 (Waitlist)

Step 5: Nurture Thank You (for "Not sure" path)
  Content: "We'll send you resources over the next 2 weeks"
  Button: "Go to Resource Library"

Step 6: Demo Booking
  Fields: Phone, PreferredDayTime (calendar picker)
  Integration: Zapier → Calendly + Slack notification to sales
  Next Page: Demo Booked Thank You

Step 7: Self-Serve Thank You
  Content: "Access [SaaS Tool] for free for 14 days"
  Button: "Start Free Trial"

Step 8: Waitlist Thank You
  Content: "You're on the waitlist. We'll email when your plan is ready."
  Button: "Return Home"
This advanced funnel:
- ✅ Qualifies leads in real-time
- ✅ Routes to appropriate offer (demo, trial, nurture)
- ✅ Captures UTM data for attribution
- ✅ Branches based on user choice and budget
- ✅ Expects 23–41% higher conversion vs. single-path funnel
Step 3: Identify Custom Data to Capture
List all data points you’ll collect:
| Field Name | Type | Step | Purpose | Required? |
|---|---|---|---|---|
| FirstName | Text | 1 | Lead identification | Yes |
| 1 | Contact + messaging | Yes | ||
| utm_source | Hidden | 1 | Traffic source attribution | No |
| utm_campaign | Hidden | 1 | Campaign attribution | No |
| utm_medium | Hidden | 1 | Medium attribution (organic, paid, etc.) | No |
| WhichBestDescribes | Radio | 2 | Routing logic (use case) | Yes |
| TeamSize | Dropdown | 3a | Qualification (agency size) | Yes (if 3a path) |
| CurrentTool | Text | 3a | Qualification (current stack) | Yes (if 3a path) |
| ProcessType | Dropdown | 3b | Qualification (process type) | Yes (if 3b path) |
| Budget | Slider/Radio | 4 | Routing logic (deal size) | Yes |
| Decision | Radio | 4 | Routing logic (decision power) | Yes |
| Phone | Phone | 6 | Demo booking | Yes (if 6 path) |
| PreferredDayTime | DateTime | 6 | Demo scheduling | Yes (if 6 path) |
Step 4: Create a Staging Funnel (Test Copy)
Never customize the live funnel. Create a test version first:
- In GHL, click Funnels > View All
- Find your funnel
- Click ⋯ (more) > Duplicate
- Name it:
[OriginalName] - STAGING - Do Not Use - Open the staging funnel
- All customizations go here first
Phase 1: Set Up Hidden Fields (30 Minutes)
Hidden fields capture UTM parameters and other URL data automatically, passing them through your funnel without showing the fields to visitors.
Step 1: Understand Hidden Field Carryover
How it works:
- Visitor arrives at funnel with URL:
https://funnel.gohighlevel.com/?utm_source=linkedin&utm_campaign=agency-hack - GHL’s hidden fields detect and capture
utm_source=linkedinandutm_campaign=agency-hack - Data is stored in the contact record and carried across all funnel steps
- On Step 2, 3, etc., the same contact sees all their captured data (if you configure contact auto-fill)
For anonymous visitors (not logged in):
- GHL uses session storage to carry hidden field data between pages
- Once the contact is created (email captured on Step 1), GHL switches to contact record storage
- If a visitor skips a step or closes the funnel, hidden field data may be lost if not yet stored
For authenticated users (logged into CRM):
- Contact data is synced automatically across all funnel steps
- Hidden fields are pulled from the existing contact record
Step 2: Add Hidden Fields to Step 1
-
Open your staging funnel, Step 1
-
Click Edit
-
Scroll down to Fields section
-
Click + Add Field
-
Select Hidden (from the field type dropdown)
-
Configure the hidden field:
- Field Name:
utm_source - Label (internal reference):
UTM Source - Default Value: (leave blank; GHL will detect from URL)
- Capture from URL Parameter:
utm_source(checkbox; enable this) - Click Add
- Field Name:
-
Repeat for additional hidden fields:
utm_campaign(capture from URL parameter:utm_campaign)utm_medium(capture from URL parameter:utm_medium)utm_content(capture from URL parameter:utm_content)utm_term(capture from URL parameter:utm_term)referral_code(capture from URL parameter:referral_code)gclid(Google Click ID; capture from URL parameter:gclid)
Example Step 1 fields (visible + hidden):
Visible Fields:
- FirstName (text, required)
- Email (email, required)

Hidden Fields:
- utm_source (captures from URL ?utm_source=)
- utm_campaign (captures from URL ?utm_campaign=)
- utm_medium (captures from URL ?utm_medium=)
- utm_content (captures from URL ?utm_content=)
- utm_term (captures from URL ?utm_term=)
- referral_code (captures from URL ?referral_code=)
- gclid (captures from URL ?gclid=)
Step 3: Test Hidden Field Capture
- Save Step 1
- Click Preview Funnel
- Copy the preview URL from the address bar, e.g.:
https://funnel-staging.gohighlevel.com/... - Append UTM parameters:
https://funnel-staging.gohighlevel.com/?utm_source=linkedin&utm_campaign=test-funnel&referral_code=FRIEND123 - Open the URL in a new tab
- Fill out the form (FirstName, Email)
- Submit Step 1
- In GHL, go to Contacts > View All
- Find the test contact you just created
- Open their record and click View Details
- Scroll to custom fields and verify:
utm_source= “linkedin” ✅utm_campaign= “test-funnel” ✅referral_code= “FRIEND123” ✅
If UTM data appears in the contact record, hidden field capture is working.
Step 4: Add Hidden Fields to Track Funnel Step Progress
Add an optional hidden field to track where each contact exits the funnel:
- On all funnel steps (Step 1–8), add a hidden field:
- Field Name:
LastFunnelStep - Default Value: (set per step)
- Step 1: “Lead Magnet Signup”
- Step 2: “Use Case Qualification”
- Step 3a: “Agency Vertical Questions”
- etc.
- Click Add
- Field Name:
This helps you identify where prospects drop off. Later, you’ll use this data to re-target them.
Phase 2: Configure Conditional Logic (1 Hour)
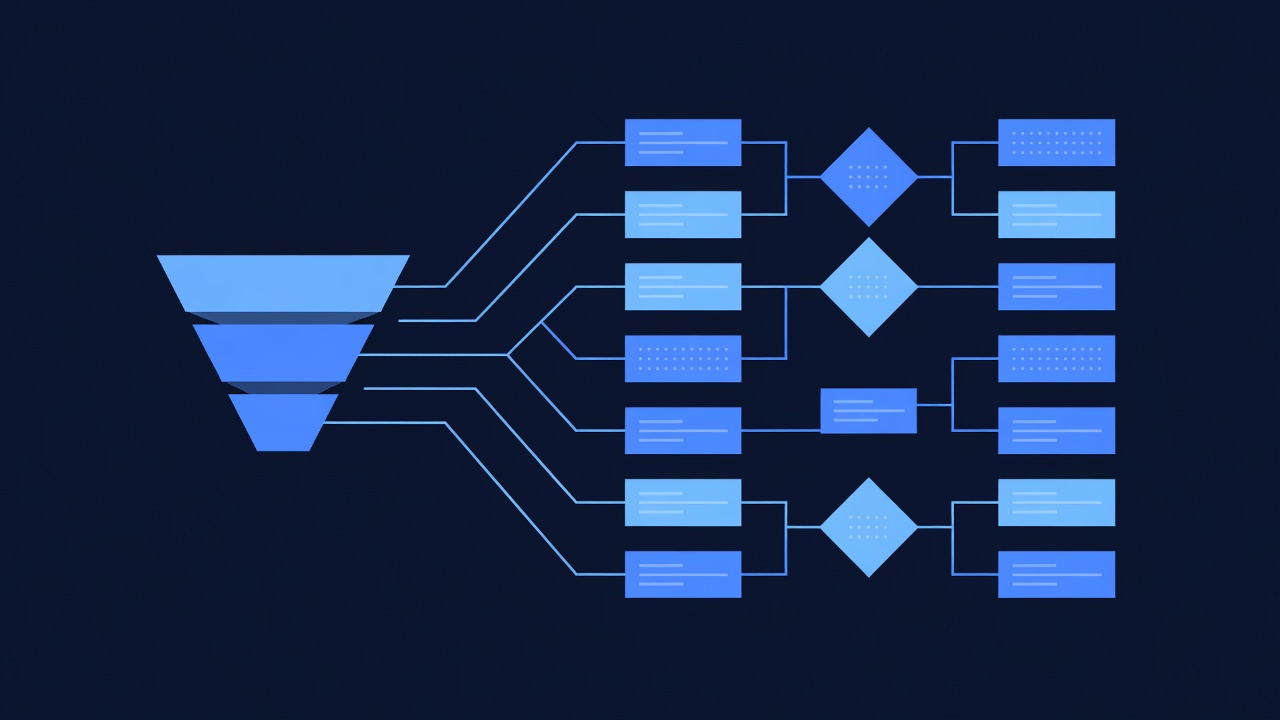
Conditional logic changes which fields appear, which page loads next, or what content displays based on user answers.
Step 1: Create a Conditional Action on Step 2 (Use Case Routing)
-
Open your staging funnel, Step 2
-
Click Edit
-
Add your form field:
- Field Type: Radio Button
- Field Name:
WhichBestDescribes - Label: “Which best describes your goal?”
- Options:
- “I want to scale my agency”
- “I want to automate workflows”
- “I’m not sure yet”
- Click Add Field
-
Scroll down to Conditional Logic section
-
Click + Add Condition
-
You’ll see a condition builder:
- If: [select field] = [select value]
- Then: [select action]
-
Build your first condition:
- If:
WhichBestDescribes= “I want to scale my agency” - Then: Go to Page → [Select Step 3a - Agency Vertical Questions]
- Click Add Condition
- If:
-
Build your second condition:
- If:
WhichBestDescribes= “I want to automate workflows” - Then: Go to Page → [Select Step 3b - Automation Vertical Questions]
- Click Add Condition
- If:
-
Build your third condition:
- If:
WhichBestDescribes= “I’m not sure yet” - Then: Go to Page → [Select Step 3c - Nurture Path]
- Click Add Condition
- If:
Visual representation:
On Step 2, when visitor selects "I want to scale my agency":
  → Condition triggers
  → Visitor automatically routed to Step 3a
  → Visitor never sees Step 3b or 3c content
Step 2: Test Step 2 Conditional Logic
- Save Step 2
- Click Preview Funnel
- Navigate to Step 2 (fill out Step 1 first)
- Test Branch 1: Select “I want to scale my agency” → Submit → Verify you land on Step 3a (Agency Vertical Questions)
- Test Branch 2: Go back to Step 2 (browser back button or close preview and reopen), select “I want to automate workflows” → Submit → Verify you land on Step 3b
- Test Branch 3: Repeat for “I’m not sure yet” → Should land on Step 3c
If all three branches route correctly, conditional logic is working.
Step 3: Create a Conditional Action on Step 4 (Budget + Decision Routing)
- Open Step 4 (Budget & Decision Power)
- Click Edit
- Add form fields:
Field 1: Budget (Slider or Radio)
- Field Type: Radio Button (for clarity; alternatively, use a Slider for continuous data)
- Field Name:
Budget - Label: “What’s your budget?”
- Options:
- “Under $250/month”
- “$250–$500/month”
- “$500–$2000/month”
- “$2000+/month”
- Click Add Field
Field 2: Decision Power
- Field Type: Radio Button
- Field Name:
Decision - Label: “Who makes the final decision?”
- Options:
- “I decide”
- “Need approval from my manager/partner”
- “Just exploring options”
- Click Add Field
-
Scroll to Conditional Logic
-
Build your first condition:
- If:
Budgetcontains “$500–$2000/month” OR “$2000+/month” ANDDecision= “I decide” - Then: Go to Page → Step 6 (Demo Booking)
- Click Add Condition
Note: Some GHL versions use OR / AND operators. Check your UI. If not available, create two separate conditions:
- Condition 1: If
Budget= “$500–$2000/month” ANDDecision= “I decide” → Step 6 - Condition 2: If
Budget= “$2000+/month” ANDDecision= “I decide” → Step 6
- If:
-
Build your second condition:
- If:
Budget= “Under $250/month” OR “$250–$500/month” - Then: Go to Page → Step 7 (Self-Serve Thank You)
- Click Add Condition
- If:
-
Build your third condition:
- If:
Decision= “Need approval from my manager/partner” - Then: Go to Page → Step 8 (Waitlist)
- Click Add Condition
- If:
-
Default behavior: If none of the conditions match, set default next page:
- At the bottom of conditional logic section, set “Default Next Page” = Step 7 (or Step 8, depending on your preference)
Step 4: Test Step 4 Multi-Condition Logic
- Save Step 4
- Click Preview Funnel
- Navigate to Step 4 (fill out Steps 1–3 first)
- Test Scenario 1: Select Budget “$500–$2000/month” + Decision “I decide” → Submit → Should route to Step 6 (Demo Booking)
- Test Scenario 2: Select Budget “$250/month” + Decision “I decide” → Submit → Should route to Step 7 (Self-Serve)
- Test Scenario 3: Select Budget “$2000+/month” + Decision “Need approval” → Submit → Should route to Step 8 (Waitlist)
- Test Scenario 4: Select Budget “$250/month” + Decision “Just exploring” → Submit → Should route to Step 7 (default for ambiguous path)
If all scenarios route correctly, your multi-condition logic is working.
Step 5: Create a Show/Hide Conditional (Optional Field Based on Answer)
Use case: Only ask for phone number if the visitor is interested in a demo
-
Open Step 6 (Demo Booking)
-
Click Edit
-
Add a field:
- Field Type: Text (Phone)
- Field Name:
Phone - Label: “Phone number”
- Required: Yes
- Click Add Field
-
Scroll to Conditional Logic → Field Visibility (some GHL versions have a separate “Show/Hide” section)
-
Create a visibility rule:
- Show this field IF: Contact reached Step 6 (implicit, since they’re on Step 6) AND
Decision= “I decide” - Hide this field IF:
Decision≠ “I decide”
Note: Depending on your GHL version, this may be configured as:
- A “Conditional Visibility” rule in the field settings
- Or a separate “Show/Hide Fields” action in conditional logic
- Show this field IF: Contact reached Step 6 (implicit, since they’re on Step 6) AND
-
Save and test: Navigate to Step 6. If visitor’s
Decision= “I decide”, phone field appears. Otherwise, it’s hidden.
Phase 3: Configure Multi-Step Funnel Data Carryover (45 Minutes)
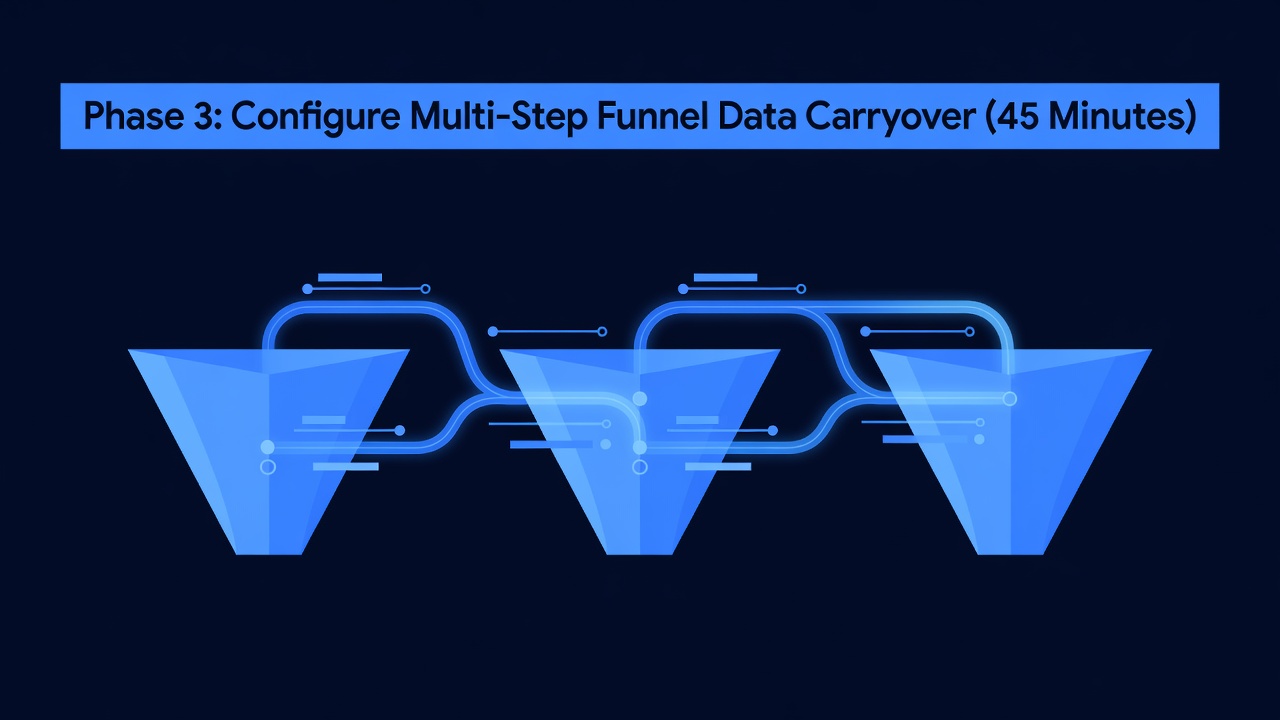
Data carryover ensures that information collected on Step 1 is available (and can be auto-filled or used in conditions) on Steps 2–8.
Step 1: Understand Data Carryover Mechanisms
| Scenario | Mechanism | Data Persistence |
|---|---|---|
| Contact created on Step 1, same browser session | Contact record + session storage | Syncs across all steps; visible in GHL CRM |
| Returning contact (logged in to CRM) | Contact record only | All previous data available; auto-fills in form fields |
| Anonymous visitor, multi-session (closes funnel, returns next day) | Hidden fields + URL params | Data lost unless stored in contact record on Step 1 |
| iOS Safari cross-site tracking disabled | Limited session storage | May lose hidden field data between steps if strict privacy settings enabled |
Best practice: On Step 1, create the contact immediately (capture email, name, hidden fields). Subsequent steps will auto-fill from the contact record.
Step 2: Enable Contact Auto-Creation on Step 1
- Open Step 1 (Lead Magnet Signup)
- Click Edit
- Scroll to Settings or Form Behavior section
- Look for “Create Contact Immediately on Form Submit” or “Auto-Create Contact”
- Enable this toggle ✅
- Verify that Email field is required (if email is not required, GHL may not create contact)
- Save Step 1
Once enabled, when a visitor submits Step 1 with their email, GHL instantly creates a contact record. All hidden field data (utm_source, utm_campaign, etc.) is attached to the contact.
Step 3: Enable Auto-Fill on Steps 2–8
- Open Step 2
- Click Edit
- Scroll to Form Behavior or Field Settings
- For each field, enable “Auto-Fill from Contact Record” or “Pre-populate if contact exists” toggle
- Repeat for Steps 3–8
Effect: If a contact field (e.g., FirstName) already exists in the contact record from Step 1, Step 2 will pre-populate it, speeding up form completion.
Step 4: Test Data Carryover Across Steps
-
Save all funnel steps
-
Click Preview Funnel
-
Step 1: Fill out:
- FirstName: “John”
- Email: “john.test.funnel.2026@example.com”
- (hidden fields auto-capture from URL:
?utm_source=test&utm_campaign=advanced)
-
Submit Step 1 → Auto-advance to Step 2
-
Step 2: Verify:
- A “WhichBestDescribes” radio field appears
- If you added a FirstName or Email field here (for re-confirmation), it may be pre-filled with “John” and “john.test.funnel.2026@example.com”
-
Select “I want to scale my agency”
-
Submit Step 2 → Route to Step 3a
-
Step 3a: Verify:
- New fields (TeamSize, CurrentTool) appear
- FirstName may be pre-filled (if added to this step)
-
Continue through all steps, confirming:
- Conditional routes work (you see Step 3a, not 3b or 3c)
- Pre-fill is working (name/email not required to re-enter)
- Data persists to the final step
-
After final step, in GHL Contacts > View All, search for “john.test.funnel.2026@example.com”
-
Open the contact record and verify all captured data:
- FirstName: “John” ✅
- Email: “john.test.funnel.2026@example.com” ✅
- utm_source: “test” ✅
- utm_campaign: “advanced” ✅
- WhichBestDescribes: “I want to scale my agency” ✅
- TeamSize: [whatever you entered] ✅
- LastFunnelStep: “Agency Vertical Questions” (or final step) ✅
If all data persists and routes correctly, your multi-step funnel with data carryover is working.
Step 5: Test Mobile Data Carryover (iOS Safari & Android Chrome)
Desktop works; now test mobile, which may have session storage issues:
- Use your mobile device (iPhone or Android) or use Chrome DevTools device emulation
- Open funnel preview URL on mobile
- Step 1: Fill out form → Submit
- Step 2: Verify form loads (may take 2–5 seconds on mobile)
- Verify pre-fill works
- Conditional behavior on mobile:
- iOS Safari: Radio button selection may not trigger conditional immediately; add explicit “Next” button and require user to click it
- Android Chrome: Usually snappier; immediate conditional trigger
- If pre-fill is missing on mobile:
- Go back to Step 1, re-submit, and wait 3–5 seconds before advancing
- GHL may need extra time to sync contact data on slower connections
Mobile-specific fix (if data carryover is failing on mobile):
- Add a “Re-verify Email” field on Step 2 with a note: “We’ll use this to sync your profile”
- This ensures contact record is updated before conditional logic fires
Phase 4: Custom CSS Styling (45 Minutes)
Make your funnel match your brand with custom CSS. No coding experience required—use built-in CSS panel or external CSS file.
Step 1: Access the CSS Editor
- Open your staging funnel
- Click Design or Settings (tab at top)
- Look for “Custom CSS” or “Style Editor” panel
- You’ll see a text box where you can paste custom CSS
Step 2: Add Brand Colors
Paste the following CSS to override button, background, and text colors:
Example CSS (customize with your brand colors):
/* Primary button styling */
.ghl-button {
  background-color: #2563EB; /* Your brand blue */
  color: white;
  border-radius: 6px;
  padding: 12px 24px;
  font-size: 16px;
  font-weight: 600;
  transition: all 0.3s ease;
}

.ghl-button:hover {
  background-color: #1D4ED8; /* Darker shade on hover */
  transform: translateY(-2px); /* Subtle lift effect */
  box-shadow: 0 4px 12px rgba(37, 99, 235, 0.3);
}

/* Form background and container */
.ghl-form-container {
  background-color: #FFFFFF; /* White */
  border-radius: 8px;
  box-shadow: 0 2px 8px rgba(0, 0, 0, 0.1);
  padding: 32px;
}

/* Form input fields */
.ghl-input,
.ghl-textarea,
.ghl-select {
  border: 1px solid #E5E7EB; /* Light gray border */
  border-radius: 6px;
  padding: 10px 12px;
  font-size: 14px;
  transition: all 0.2s ease;
}

.ghl-input:focus,
.ghl-textarea:focus,
.ghl-select:focus {
  border-color: #2563EB; /* Blue on focus */
  box-shadow: 0 0 0 3px rgba(37, 99, 235, 0.1);
  outline: none;
}

/* Radio button and checkbox styling */
.ghl-radio-group label,
.ghl-checkbox-group label {
  font-size: 14px;
  font-weight: 500;
  color: #374151; /* Dark gray text */
  margin-bottom: 8px;
  display: block;
}

.ghl-radio-group input[type="radio"],
.ghl-checkbox-group input[type="checkbox"] {
  accent-color: #2563EB; /* Blue checkboxes/radios */
  margin-right: 8px;
}

/* Heading styling */
.ghl-page-title {
  font-size: 32px;
  font-weight: 700;
  color: #111827; /* Nearly black */
  margin-bottom: 16px;
  line-height: 1.3;
}

.ghl-page-subtitle {
  font-size: 16px;
  color: #6B7280; /* Medium gray */
  margin-bottom: 24px;
  line-height: 1.5;
}

/* Conditional content container (for hidden sections) */
.ghl-section-hidden {
  display: none; /* Hidden until condition triggers */
}

.ghl-section-visible {
  display: block;
  animation: fadeIn 0.3s ease-in; /* Smooth fade-in when shown */
}

@keyframes fadeIn {
  from {
    opacity: 0;
    transform: translateY(10px);
  }
  to {
    opacity: 1;
    transform: translateY(0);
  }
}
Step 3: Test CSS in Preview
- Paste the CSS above into the Custom CSS panel
- Click Save or Apply
- Click Preview Funnel
- Verify:
- Button color changed to your brand blue ✅
- Buttons have hover effect (darker on hover) ✅
- Form inputs have blue focus state ✅
- Heading is large and bold ✅
Step 4: Customize for Mobile Responsiveness
Add mobile-specific CSS to ensure your funnel looks great on small screens:
/* Mobile Responsive Styles */
@media (max-width: 768px) {
  .ghl-form-container {
    padding: 16px; /* Less padding on mobile */
  }

  .ghl-page-title {
    font-size: 24px; /* Smaller heading on mobile */
  }

  .ghl-page-subtitle {
    font-size: 14px;
  }

  .ghl-button {